
Reset Nest Thermostat for New Owner: Quick Setup Guide
To reset a Nest Thermostat for a new owner, follow these steps: Go to the thermostat’s Settings menu, select “Reset” and confirm the reset by selecting “Yes.” Now, let’s dive into the details of how to reset your Nest Thermostat for a new owner.
Resetting a Nest Thermostat is a straightforward process that allows you to wipe out the previous owner’s settings and start fresh. Whether you’ve recently moved into a new home or purchased a used Nest Thermostat, resetting it ensures that you have full control over the device.
In this blog post, we will guide you through the step-by-step process of resetting your Nest Thermostat for a new owner. By following these simple instructions, you’ll be able to customize your thermostat settings to suit your preferences and enjoy the benefits of a personalized and efficient heating and cooling system.
So, let’s get started and learn how to reset your Nest Thermostat.
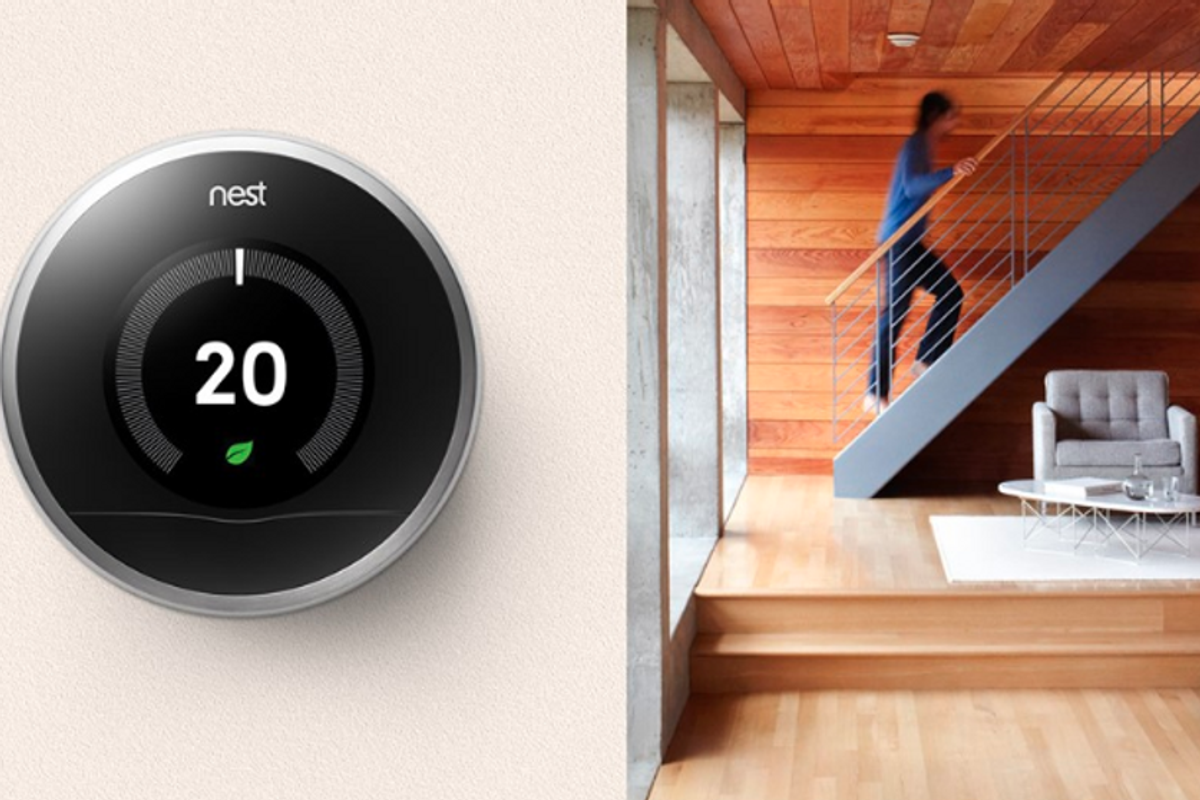
Credit: www.gearbrain.com
Introduction To Nest Thermostat
Before handing over your home to a new owner, resetting your Nest Thermostat is crucial. This ensures that the new occupant can enjoy the full benefits of a smart thermostat. By resetting the Nest Thermostat, the new owner can seamlessly integrate it into their home and personalize the settings to their preferences.
Additionally, it allows for a fresh start, erasing any previous data and schedules. This can be particularly beneficial if you have utilized the thermostat’s smart features extensively. Resetting the Nest Thermostat for the new owner demonstrates thoughtfulness and consideration, providing them with a clean slate to optimize their indoor comfort and energy efficiency.
Pre-reset Checklist
Gather all necessary information before resetting your Nest Thermostat for the new owner. Check the model and serial number to ensure compatibility with the new home. Record any custom settings or preferences to share with the new owner. Verify the Wi-Fi network details and password for a smooth setup process at the new location.
Additionally, make sure to gather any warranty information and original purchase receipts to pass on to the new owner. By confirming compatibility and gathering all necessary information, you can ensure a seamless transition for the new owner of your Nest Thermostat.
Locating The Reset Option
When resetting your Nest thermostat for a new owner, the first step is to locate the reset option. Access the main menu by pressing the thermostat display. Navigate to “Settings” and select “Reset” to factory reset the device. Once in the reset menu, identify the reset settings and follow the prompts to confirm the reset.
Remember to remove the thermostat from your Nest account to ensure the new owner can easily set it up. After the reset, the thermostat will be ready for the new owner to connect to their Wi-Fi network and personalize the settings.
Steps To Reset Nest Thermostat
To reset your Nest Thermostat for a new owner, you need to follow a few simple steps. Firstly, you need to select the Factory Reset option from the settings menu. This will erase all the data stored on the device and reset it to its default settings.
Once you have selected the Factory Reset option, you will be prompted to confirm the reset process. You need to confirm it to complete the reset process successfully. After the confirmation, the Nest Thermostat will restart and will be ready for a new owner to use.
Post-reset Actions
After resetting your Nest Thermostat, there are some post-reset actions you should take. If you are reinstalling the thermostat for a new owner, you need to make sure you have the following setup requirements:
- A Wi-Fi network with internet access
- A compatible device with the Nest app installed
- A Nest account
Once you have these requirements, you can proceed with the re-installation process. First, remove the thermostat from the wall and reattach it to the wall plate. Follow the instructions on the Nest app to connect the thermostat to your Wi-Fi network and Nest account. Once the thermostat is connected, you can customize the settings to your preferences.
Credit: www.reddit.com
Customization For New Owner
To customize your Nest Thermostat for a new owner, first, reset the device to its factory settings. Once the device is reset, the new owner can set up their user preferences. This includes setting their preferred temperature, choosing their preferred language, and selecting their time zone. The new owner can also connect the device to their Wi-Fi network to access features like remote control and energy usage reports.
To connect the device to Wi-Fi, the new owner needs to go to the settings menu on the thermostat and select “Network.” From there, they can choose their Wi-Fi network and enter the password. Once the device is connected, the new owner can start enjoying all the features of their Nest Thermostat.
Troubleshooting Common Issues
If you are facing problems with resetting your Nest thermostat, there are a few common issues that you can troubleshoot. One of the main problems that people face is reset failures. This can occur when the thermostat is not fully reset or when there is a problem with the wiring. To resolve this, you can try resetting the thermostat again and make sure that the wiring is properly connected.
Another issue that you may face is connectivity problems. If your Nest thermostat is not connecting to your Wi-Fi network, you can try resetting your Wi-Fi router and connecting again. You can also try moving the thermostat closer to the router or using a Wi-Fi extender to boost the signal.
| Common Issues | Resolutions |
|---|---|
| Reset Failures | Reset the thermostat again and check the wiring connection. |
| Connectivity Problems | Reset the Wi-Fi router, move the thermostat closer to the router, or use a Wi-Fi extender. |
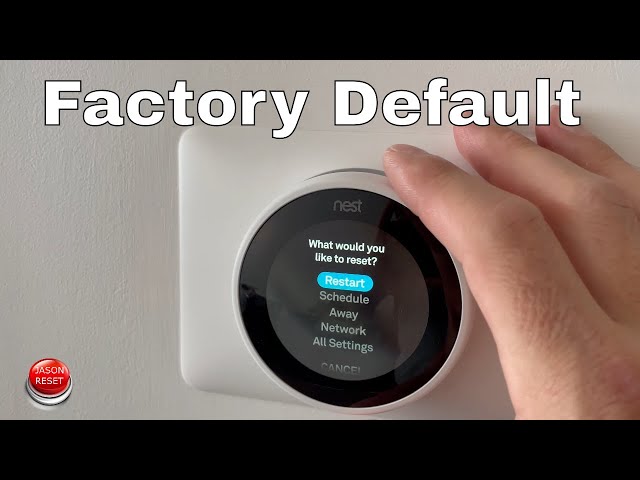
Credit: www.youtube.com
Maintaining Nest Thermostat
Maintaining your Nest Thermostat is essential for its optimal performance. Regular updates and upkeep are important to ensure that it functions efficiently. You can easily reset the Nest Thermostat for a new owner by accessing the settings and performing a factory reset.
Additionally, seeking assistance from the Nest support team or referring to the user manual can provide helpful guidance. Remember to erase your data and restore the device to its default settings before handing it over to the new owner.
Frequently Asked Questions
How Do I Remove Nest Thermostat From Previous Owner?
To remove a Nest Thermostat from the previous owner, reset it to factory settings. Go to the thermostat’s menu, select “Settings,” then “Reset,” and choose “Factory reset. ” This will erase all previous owner’s data and allow you to set it up as new.
How Do I Reset My Nest Thermostat For A New User?
To reset your Nest Thermostat for a new user, go to Settings, then Reset. Select “All Settings” to erase your data and preferences. Confirm the reset and follow the on-screen instructions. After the reset, the thermostat will be ready for a new user.
Can You Factory Reset A Nest Thermostat?
Yes, you can factory reset a Nest Thermostat. Go to the settings menu, select “Reset” and confirm.
What If My Nest Thermostat Is Already Connected To An Account?
If your Nest Thermostat is already connected to an account, you can simply log in using the existing account credentials. No need to worry, as the thermostat will retain its settings and continue to function normally.
Conclusion
Resetting your Nest thermostat for a new owner is a simple and important step to ensure a smooth transition. By following the easy steps outlined in this blog post, you can ensure that the new owner can start enjoying the benefits of the Nest thermostat right away.
Remember to erase personal information, disconnect your account, and provide clear instructions for the new owner. Taking these steps will not only protect your privacy but also ensure a positive experience for the new owner.

- Nest Thermostat Fan Always On: Quick Fixes & Tips - September 1, 2024
- How Much to Install a Nest Thermostat? Smart Savings! - August 31, 2024
- Reset Nest Thermostat for New Owner: Quick Setup Guide - August 30, 2024