
Nest Thermostat E Battery Replacement: Quick Guide
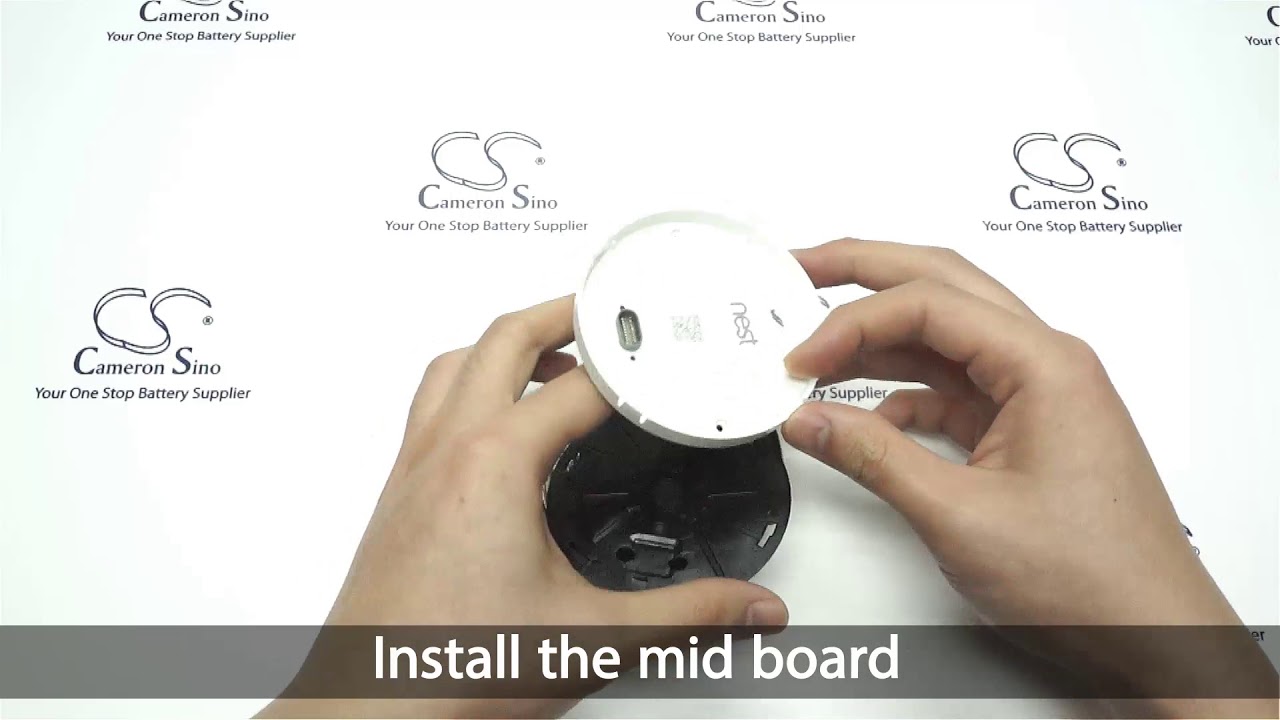
To replace the battery in a Nest Thermostat E, simply remove the display from the base and replace the old battery with a new one. The Nest Thermostat E is a popular smart thermostat that offers energy-saving features and easy-to-use controls.
However, like any electronic device, the thermostat’s battery will eventually need to be replaced. In this guide, we will walk you through the steps to replace the battery in a Nest Thermostat E. To replace the battery, start by removing the display from the base.
This can be done by pulling the display straight out from the base. Once the display is removed, you will see the battery compartment on the back. Open the compartment and remove the old battery. Insert a new battery into the compartment, making sure it is properly aligned.
Finally, reattach the display to the base, and your Nest Thermostat E will be powered up and ready to use again. By following these simple steps, you can easily replace the battery in your Nest Thermostat E and ensure it continues to function effectively.
Credit: m.youtube.com
Introduction To Nest Thermostat E
The Nest Thermostat E is an innovative device that plays a crucial role in maintaining a comfortable indoor environment. A functional thermostat is essential for regulating the temperature of your home efficiently. One common issue with smart thermostats is the need for battery replacement.
Battery issues can disrupt the operation of the thermostat, leading to inconvenience and discomfort. It is important to be aware of the battery replacement process to ensure the continuous and reliable functioning of the Nest Thermostat E.
Signs Your Nest Thermostat E Needs A New Battery
When your Nest Thermostat E needs a new battery, you may experience unexpected system shutdowns. The thermostat might also exhibit inconsistent temperature control, leading to discomfort in your living space.
If you notice these signs, it’s crucial to replace the battery promptly to ensure the smooth functioning of your thermostat. Neglecting these indicators could result in further disruptions to your HVAC system, impacting the overall comfort and efficiency of your home.
Preparing For Battery Replacement
When preparing for Nest Thermostat E battery replacement, it’s important to have the necessary tools and materials ready. You will need a small flathead screwdriver and a new set of AAA batteries. Before starting the replacement process, ensure that the thermostat is turned off to avoid any electrical hazards.
Safety precautions must be taken, such as wearing protective gloves and ensuring proper ventilation in the area. Once you have the tools and safety measures in place, you can proceed with the battery replacement, following the manufacturer’s instructions carefully.
Credit: justlv.medium.com
Step-by-step Battery Replacement Process
Replace the battery in your Nest Thermostat E with this easy step-by-step process. Start by removing the display and disconnecting the old battery. Then, install the new battery and reattach the display. Enjoy a fully functioning thermostat with minimal hassle.
| Step-by-Step Battery Replacement Process |
|---|
| To replace the battery in your Nest Thermostat E, you’ll need to follow these simple steps: |
| 1. Removing the Thermostat from Its Base: First, gently remove the thermostat from its base by pulling it straight out. Be sure to do this carefully to avoid damaging the thermostat or the base. |
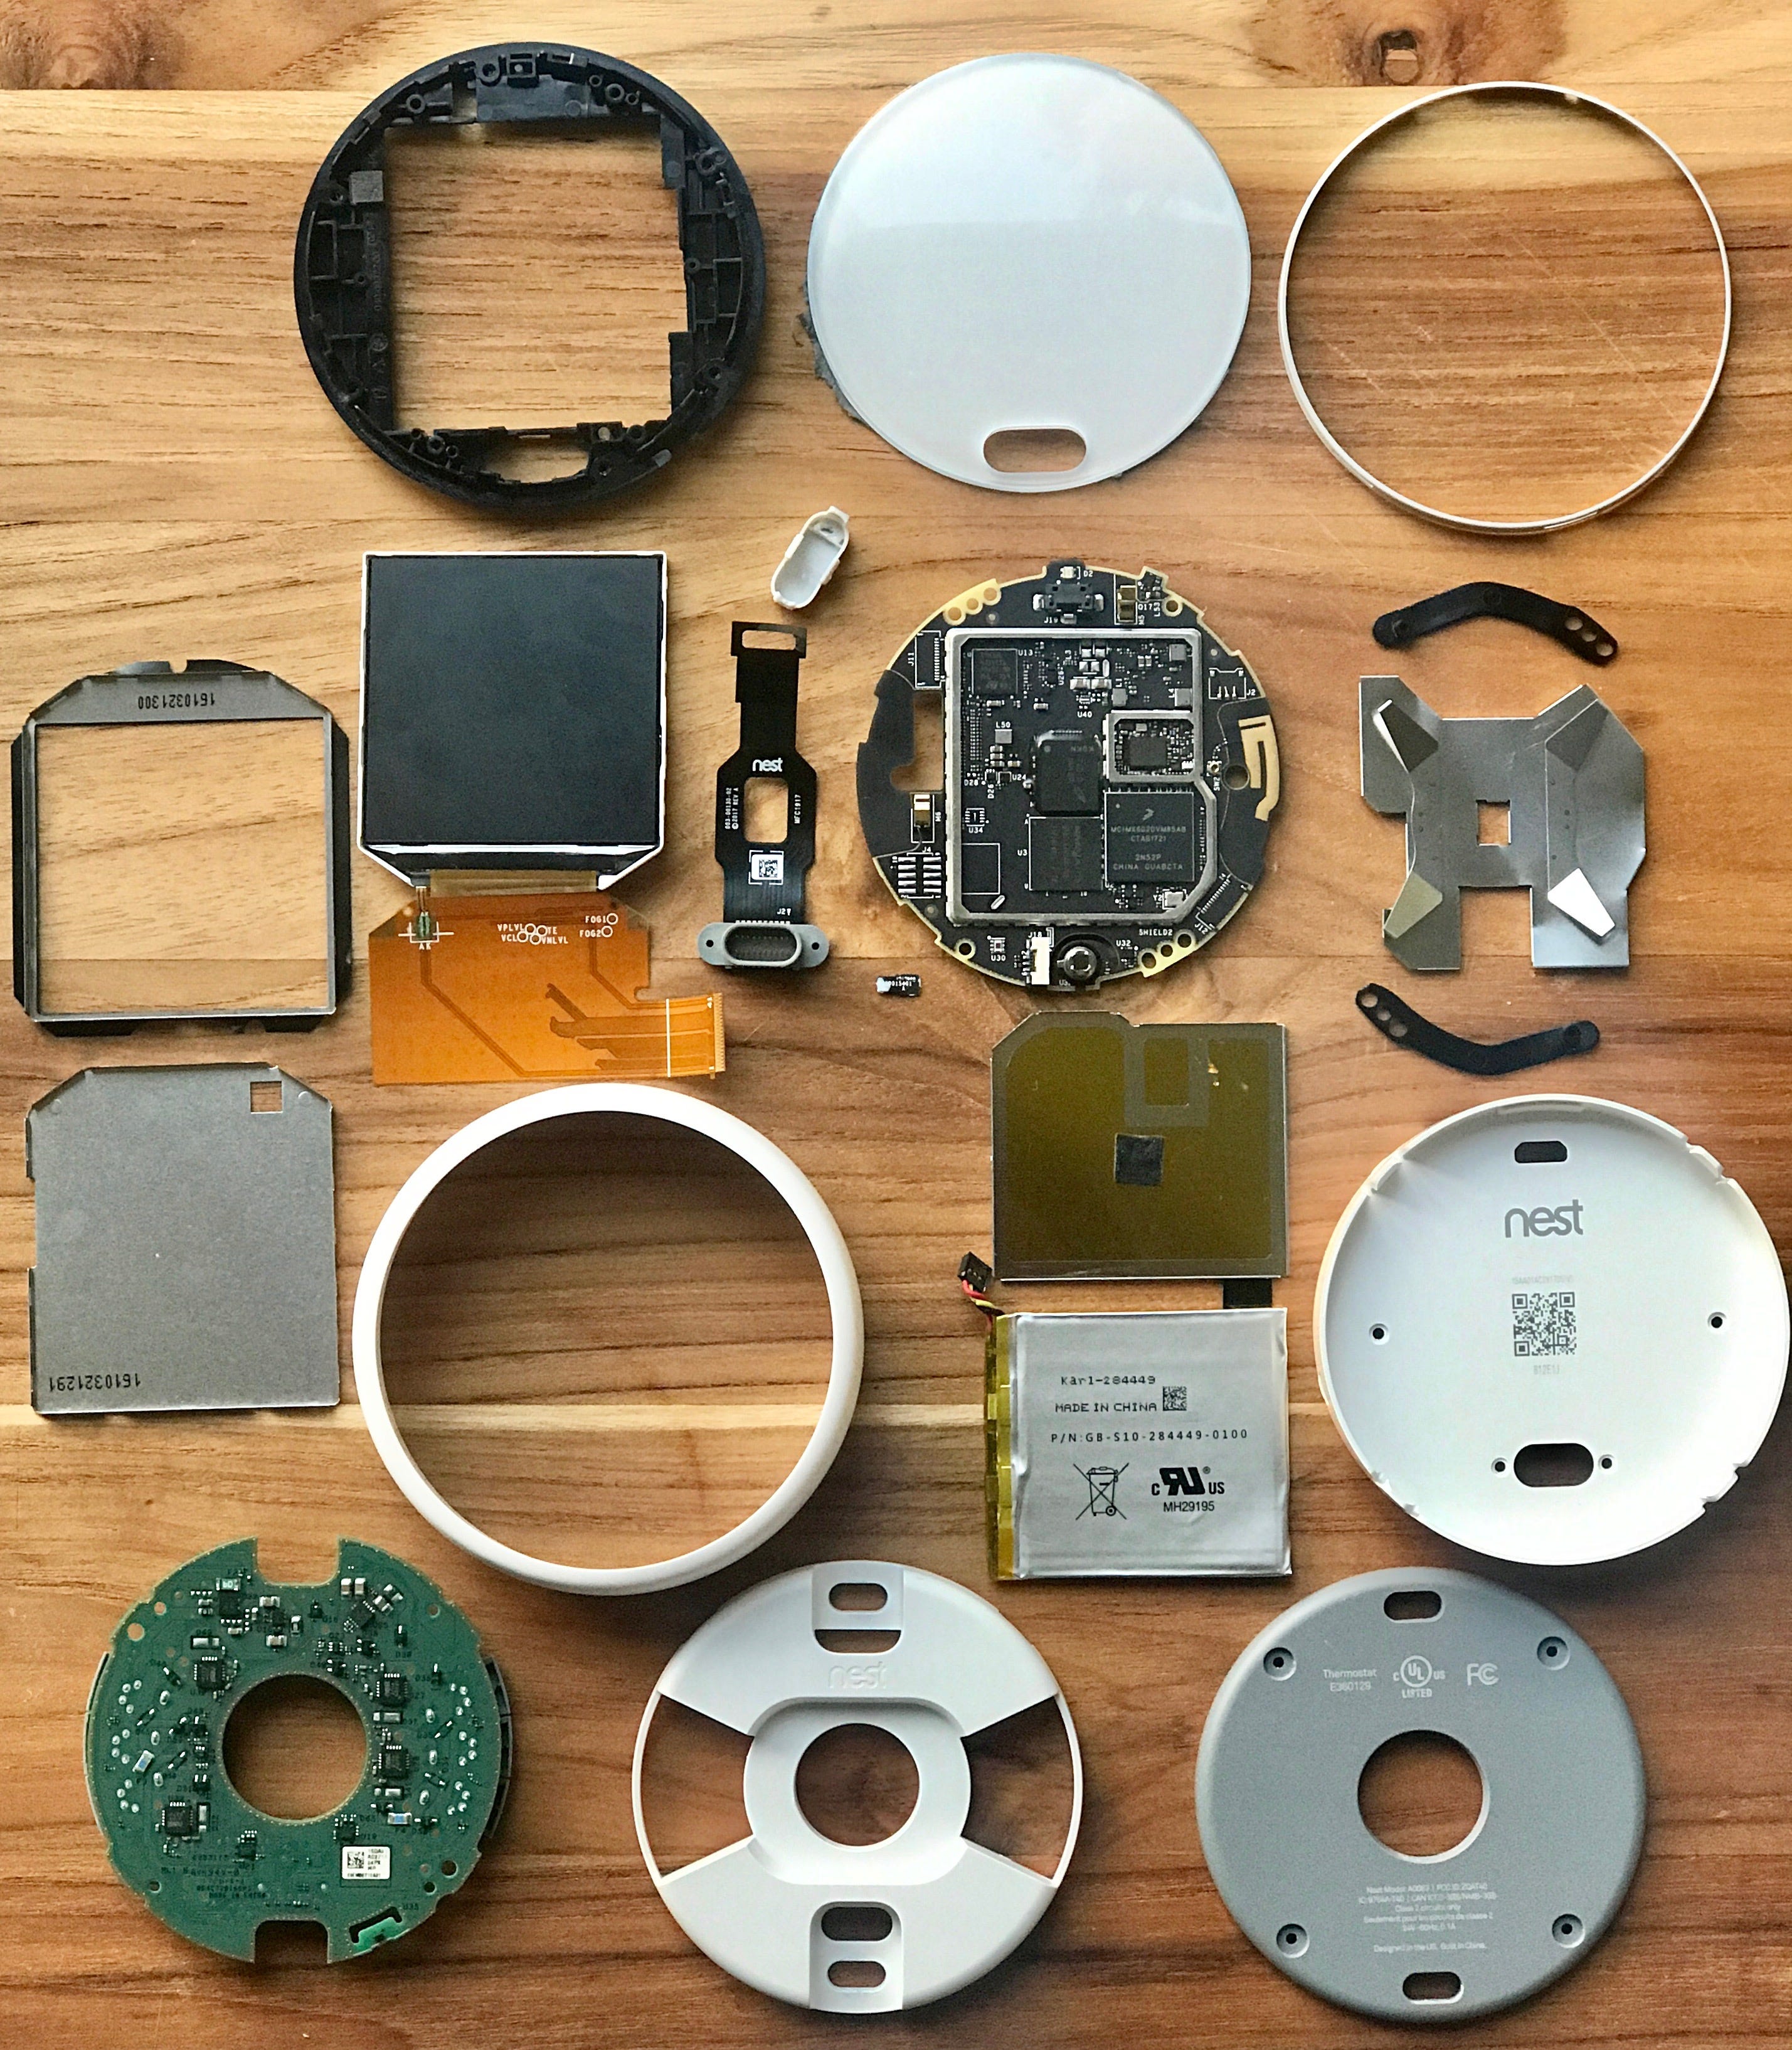
| 2. Locating and Extracting the Old Battery: Once you’ve removed the thermostat from its base, you should be able to see the battery compartment on the back. Use a small screwdriver or other tool to carefully extract the old battery from the compartment. |
| 3. Installing the New Battery: Finally, insert the new battery into the compartment, making sure that the positive and negative ends are facing the right way. Then, carefully reattach the thermostat to its base. That’s it – you’re done! |
Troubleshooting Common Issues During Replacement
|
Troubleshooting Common Issues During Replacement: When replacing the battery on your Nest Thermostat E, you may encounter some common issues. One of the most common issues is difficulty in removing the old battery. To remove the battery, you need to press down on the battery clip and slide it out. If you are having difficulty in removing the battery, try using a small screwdriver to help you pry it out. Another important thing to keep in mind is to ensure correct battery orientation. The Nest Thermostat E uses a CR2450 battery with the positive side facing out. Make sure you insert the new battery in the correct orientation, otherwise, the thermostat will not work. |

Credit: www.ifixit.com
Post-installation Checklist
After replacing the battery of your Nest Thermostat E, it is important to go through a post-installation checklist to ensure proper functionality. Start by confirming that the thermostat is properly connected to your Wi-Fi network and that it is displaying the correct time and temperature.
If there are any issues, try resetting the thermostat by holding down the display for 10 seconds until it restarts.
Next, check that the thermostat is properly controlling your heating and cooling system. Turn on your HVAC system and verify that the thermostat is activating it. If there are any issues, double-check the wiring to ensure it is connected correctly.
If everything is working correctly, you may want to set up the thermostat again to ensure that all settings are as you want them. Use the Nest app to connect to your thermostat and adjust settings as needed.
| Post-Installation Checklist |
|---|
| Confirm Wi-Fi connection and correct time/temperature display |
| Check proper control of HVAC system |
| Set up thermostat again using Nest app |
Maintenance Tips For Prolonging Battery Life
Battery replacement is a common issue faced by Nest Thermostat E users. However, there are various maintenance tips that can help prolong the battery life of your device. Regular firmware updates are essential to keep the device functioning optimally. These updates not only fix bugs but also improve the overall performance of the thermostat.
Optimizing the thermostat settings is another way to conserve battery life. Adjusting the temperature range and setting the thermostat to a power-saving mode can significantly reduce battery usage. Additionally, disabling unnecessary features such as Wi-Fi and Bluetooth can also help conserve battery life.
| Tips for Prolonging Battery Life: |
|---|
| Regular firmware updates |
| Optimizing thermostat settings |
Faqs On Nest Thermostat E Battery Replacement
Nest Thermostat E comes with a built-in rechargeable battery. You don’t need to replace it. However, if you see a low battery message, replace the battery. Use Energizer Ultimate Lithium or Panasonic CR2450. Seek professional help if you are unsure about replacing the battery.
Professional help is recommended if you are not comfortable with DIY. Seeking expert advice ensures safety and proper installation. Always use compatible battery brands to avoid any issues with the thermostat’s functioning.
Frequently Asked Questions
Does The Nest Thermostat E Have A Battery?
Yes, the Nest Thermostat E has a built-in rechargeable battery that is charged through the HVAC system.
How To Replace Battery In Nest E Thermostat?
To replace the battery in a Nest e thermostat, follow these steps: 1. Gently pull the display off the base. 2. Remove the screws on the base to access the battery compartment. 3. Take out the old batteries and replace them with new ones.
4. Put the display back on the base and secure it with screws. 5. Your Nest e thermostat is now ready to use with fresh batteries.
How Long Does Battery Last On Nest E?
The Nest E battery typically lasts for about 6-12 months.
Is Nest E Being Discontinued?
No, Nest E is not being discontinued. It is still available for purchase and continues to be supported by Nest.
Conclusion
To conclude, replacing the battery in your Nest Thermostat E is a simple process that ensures the smooth functioning of your device. By following the easy steps outlined in this blog post, you can avoid any potential issues and keep your thermostat running efficiently.
Remember to always use the recommended battery type and consult the Nest support team if you encounter any difficulties. With proper battery maintenance, you can enjoy the convenience and energy-saving benefits of your Nest Thermostat E for years to come.

- Nest Thermostat Fan Always On: Quick Fixes & Tips - September 1, 2024
- How Much to Install a Nest Thermostat? Smart Savings! - August 31, 2024
- Reset Nest Thermostat for New Owner: Quick Setup Guide - August 30, 2024